How is this done?
- Started 9 years ago
- Last post 9 years ago
- 6 Responses
- CuriousGeorge
I've seen a bunch of these template files where they have smart objects built in with the warping already set, all you have to do is paste in your artwork.
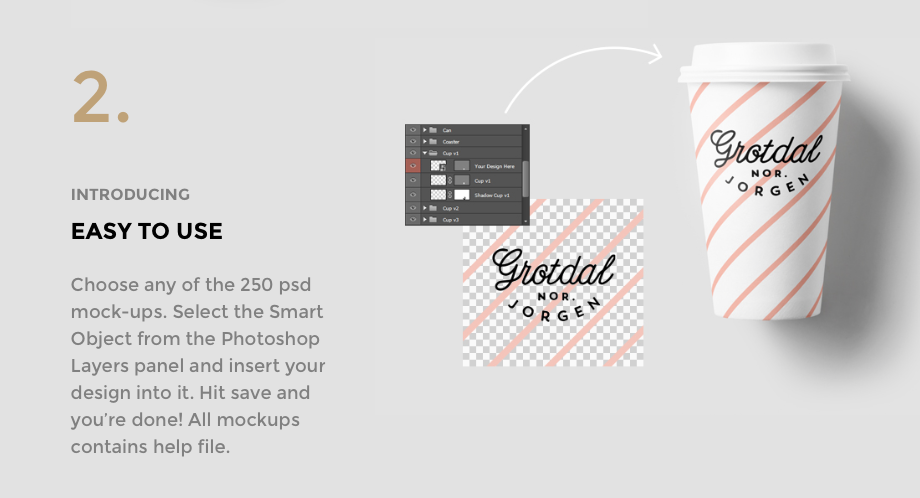
Now the question is, does anyone know how to create the smart object with the warping? I've searched high and low for a tutorial but nothing shows how to do it to cylindrical shapes like the example above.
Please help! Thanks.
- utopian3
PSD Mockups...here a some links to FREE ones that you can download.
http://graphicburger.com/tag/moc…
http://www.freepik.com/free-phot…
https://pixelbuddha.net/freebies…
http://freebiesbug.com/psd-freeb…
http://tinyurl.com/glxc2xx
http://www.pixeden.com/psd-mock-…
https://www.mockupworld.co/all-m…
- CuriousGeorge0
Thanks. I actually have a bunch like the coffee cup above. I'm not looking for mockups.
I have an image of a bottle that I need to wrap different designs around for mock-up purposes so I want to create my own smart object that wraps around a cylinder.
- But every tutorial I've found shows how to wrap to more simple surfaces like slightly curved brochure covers, etc.CuriousGeorge
- you need to turn the layer into 3-d object.lvl_13
- monospaced3
Smart Object layer > 3D > New Mesh from Layer > Mesh Preset > Cylinder
- or just manually tweak a Transform Warp until it looks rightmonospaced
- do a perspective transform for the tapered walls, then a warp to add a slight curvemonospaced
- ********0
Magnets
- ********0
Little tip: if you don't know how it's done then it's obviously magnets
- sarahfailin0
ok, but how is THIS done?

- That comes from birthmaquito
- drugs********
- this is gloriousprophetone
- with grace and gusto.lvl_13
- also magnetsimbecile
- Must be alienCGN